Best Potting Soil for Indoor Plants
Stand in the garden center aisle and count the bags: all-purpose potting mix, indoor potting mix, moisture-control mix, organic super soil, cactus blend, orchid bark, African violet mix — thirty options deep, every single one claiming to be the best potting soil for indoor plants. You came in for one bag and now you’re paralyzed, because they can’t all be right, and the wrong choice genuinely matters more than most beginners realize.
Here’s the uncomfortable truth the bag labels won’t tell you: there is no single “best” potting soil for indoor plants. A bag that’s perfect for your monstera will slowly suffocate your succulents. The mix your fern loves will leave your orchid’s roots rotting in a week. Soil isn’t a product — it’s a recipe, and the right recipe depends on what the plant’s roots actually need: how much air, how much water, and how fast it all drains.
The good news? Once you understand what makes a good indoor mix — and it’s only four things — you’ll never feel lost in that aisle again. You’ll be able to read any bag like a label detective, upgrade a mediocre bag into a great one with two cheap amendments, and match every plant in your home to the mix it actually wants. This guide covers all of it: the ingredient glossary, the peat debate, what to buy for each plant type, and when your soil is done and needs replacing.
In This Guide
- Why soil matters more indoors than outdoors
- What makes a good indoor mix: the four pillars
- Ingredient glossary: what’s actually in the bag
- Potting soil vs. potting mix vs. garden soil
- What to buy: best bagged picks by use case
- The peat vs. peat-free debate, honestly
- How to read a bag label like a pro
- Matching the mix to your plant: the cheat sheet
- How to upgrade a store-bought bag
- When to replace your soil (not just repot)
- FAQs
Why Soil Matters More Indoors: The Pot Is the Whole Ecosystem
Outdoors, soil is forgiving. Earthworms tunnel through it, keeping it aerated. Rain leaches away excess fertilizer salts. An entire underground food web of fungi and microbes cycles nutrients. If the soil is a little dense, the surrounding earth still drains. The system has buffers everywhere.
Indoors, there are no buffers. The pot is the plant’s entire universe — every root the plant will ever grow must live inside those few inches of mix, and the only way out for excess water is a drainage hole (assuming your pot even has one). There are no earthworms. Salts from fertilizer and hard tap water accumulate instead of washing away. Organic matter breaks down and the mix slowly compacts, and nothing fluffs it back up.
This is why soil choice is arguably the highest-leverage decision in indoor gardening — bigger than fertilizer brand, bigger than which window, arguably as big as watering itself. The number one killer of houseplants is root rot, and root rot is almost always a soil problem wearing a watering disguise. A dense, soggy mix stays wet for two weeks; the same plant in an airy, fast-draining mix would have been fine with the exact same watering can. When you see white mold growing on your soil surface, that’s your mix telling you it’s staying too wet — the mold is a symptom, and the soil is the cause.
So forget hunting for one magic bag. Instead, learn to build and choose mixes around what roots need. Everything below flows from that.
What Makes a Good Indoor Mix: The Four Pillars
Every good indoor potting mix balances four things. Memorize these and you can evaluate any bag or recipe in seconds:
1. Drainage. Water must flow through freely and exit the drainage hole. If water pools on the surface or the pot feels heavy days after watering, drainage has failed. Roots sitting in waterlogged mix suffocate — they need oxygen, and water displaces air from the pore spaces.
2. Aeration. Even between waterings, roots need air pockets in the mix. This is what chunky ingredients (bark, perlite) provide: structural pieces that don’t compress, holding open permanent air channels. Fine, dusty mixes collapse into a brick with no air space — the classic cause of “mystery” plant decline in old potting soil.
3. Moisture retention. Here’s the balancing act: the mix must also hold enough water for roots to drink between waterings. Pure grit drains beautifully and kills a fern in days. The best mixes hold water like a wrung-out sponge — moist throughout, but never soggy, with air still present. Peat moss, coco coir, and vermiculite are the moisture-holders.
4. pH in the 6.0–7.0 range. Most houseplants absorb nutrients best in slightly acidic to neutral conditions. Peat-based mixes naturally sit around 5.5–6.5 (good); very acidic or alkaline mixes lock out nutrients even when fertilizer is present. You don’t need to test every bag — just know that reputable indoor mixes are formulated in this range, and that adding lots of uncomposted bark can push pH down over time.
The art is in the ratio. Tropical foliage plants want moisture retention with aeration (the famous “chunky aroid mix”). Succulents want drainage cranked to maximum and moisture retention minimized. Orchids want almost pure aeration — they grow on tree bark in nature, not in soil at all. One bag can’t do all three jobs, which is exactly why the aisle has thirty options.
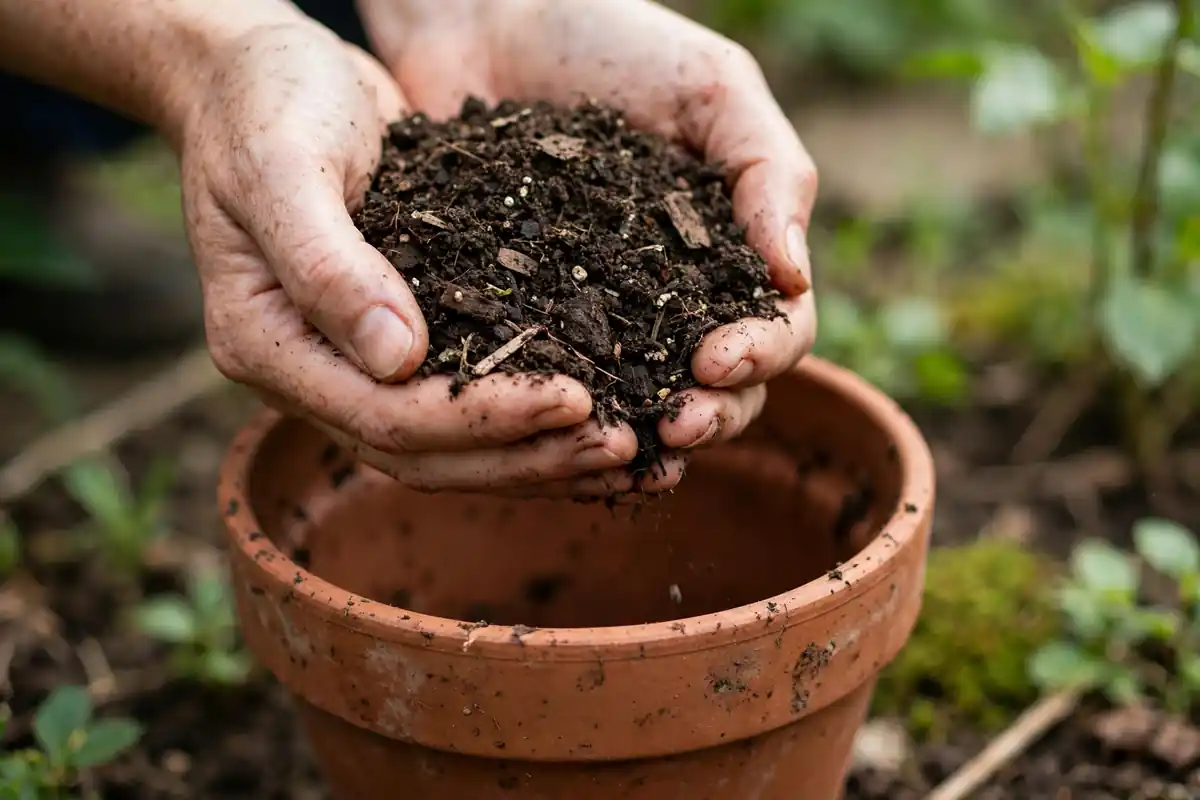
The squeeze test (use it on any bag before you commit): grab a moistened handful and squeeze hard. A good general indoor mix holds together loosely, then crumbles apart when you poke it. If water streams out, it’s too dense or too wet. If it won’t hold shape at all and falls through your fingers like dry sand, it’s too gritty for anything but succulents.
Ingredient Glossary: What’s Actually in the Bag
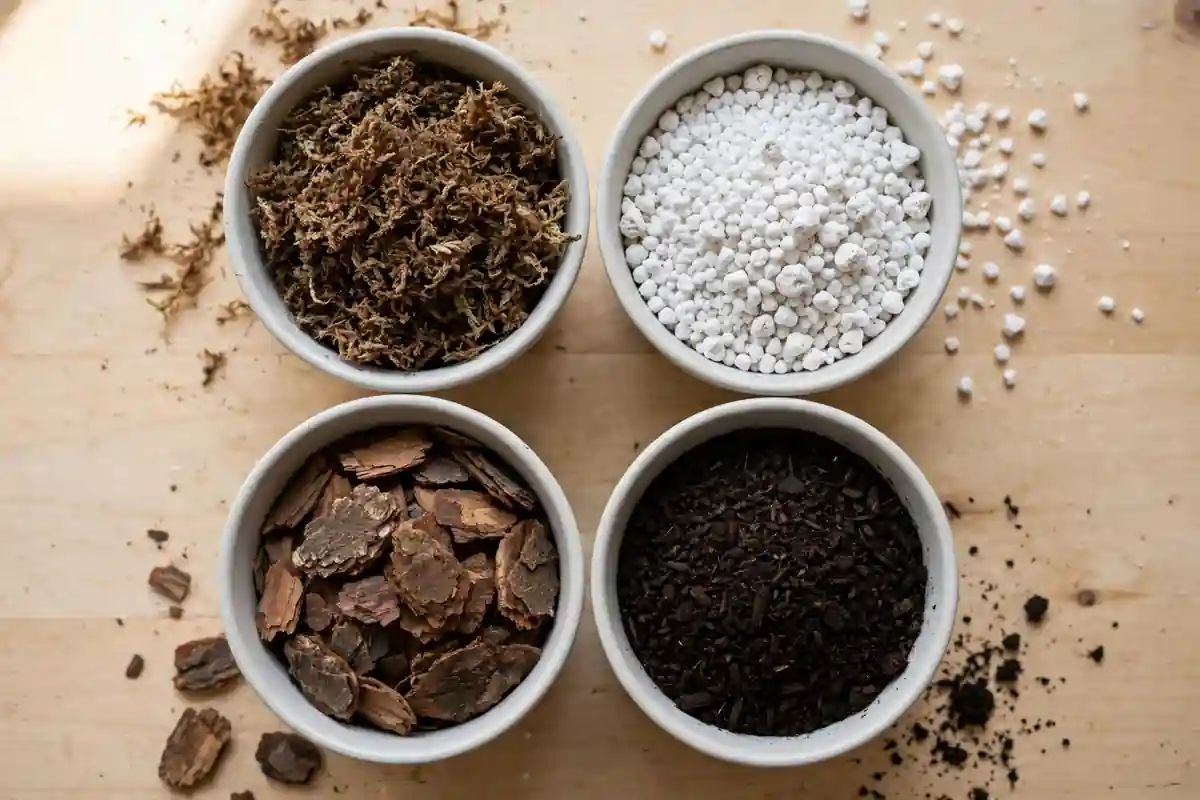
Flip any quality bag over and you’ll see the same cast of characters. Here’s what each one actually does, so the label stops being alphabet soup:
Peat moss (sphagnum peat). The backbone of most commercial mixes. Harvested from bogs, it’s sterile, consistent, lightweight, and holds many times its weight in water while staying slightly acidic (pH ~4–5, usually limed up to ~6 in bagged mixes). The downside: when it dries out completely it becomes hydrophobic — water beads up and runs off instead of soaking in. If you’ve ever wondered why water runs straight down the sides of a neglected plant, dried-out peat is usually the culprit.
Coco coir. Shredded coconut husk, the leading peat alternative. Similar water retention, more neutral pH (~6), rewets easily after drying (a real advantage over peat), and renewable. Watch out for salt content in cheap bricks — rinse or buy buffered — and know that coir holds calcium and magnesium, so plants in pure coir sometimes need supplemental cal-mag feeding.
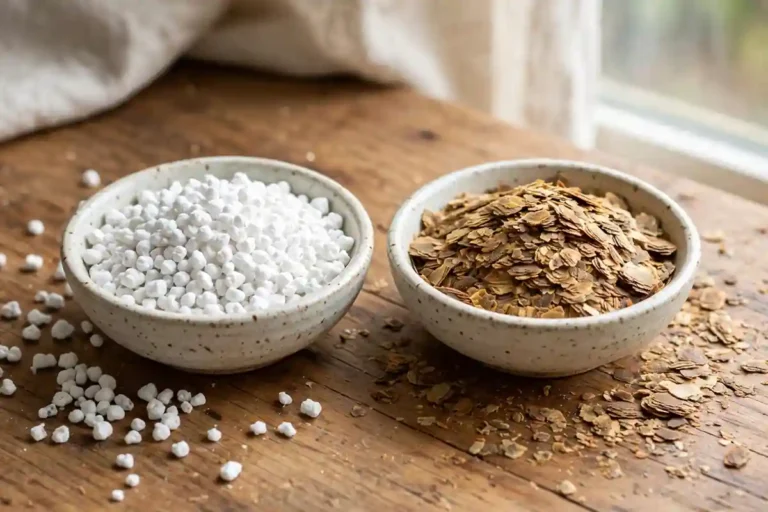
Perlite. Those little white popcorn-like pebbles. It’s expanded volcanic glass — essentially sterile, featherweight, and its only job is holding open air pockets and improving drainage. It doesn’t hold nutrients or break down. If a bag feels suspiciously light and looks speckled white, that’s perlite doing its thing. Nearly every indoor mix benefits from more of it than the manufacturer included.
Vermiculite. Perlite’s golden-brown cousin (expanded mica). Unlike perlite, vermiculite absorbs water and nutrients and releases them slowly — it’s a moisture-and-nutrient reservoir, not just an aerator. Great for seed starting and moisture-loving plants like ferns; less useful where you want fast drainage.
Pine/fir bark. Chunky bark pieces (often labeled “orchid bark” in small bags, “soil conditioner” in big ones). The structural backbone of aroid and orchid mixes — creates large air pockets that don’t compress over time, and breaks down very slowly. Fine bark also adds a bit of moisture retention; coarse bark is almost pure aeration.
Compost / composted forest products. Decomposed organic matter that adds nutrients, beneficial microbes, and moisture retention. Quality varies wildly — good compost smells earthy and sweet; bad compost smells sour or like ammonia. “Forest products” on a cheap label can mean anything from nice composted bark to barely-processed wood filler, which is why ingredient transparency matters.
Worm castings. Earthworm manure — a gentle, slow-release fertilizer (roughly 1-0-0 NPK plus micronutrients) with beneficial biology. The single best amendment for giving a sterile bagged mix some living nutrition. A 10–20% addition transforms a basic mix.
Sand, grit, pumice. Drainage boosters for succulent and cactus mixes. Use coarse horticultural sand or pumice — never fine play sand or beach sand, which packs into concrete-like layers. Pumice is the premium choice: lightweight, porous, doesn’t break down.
Horticultural charcoal. Small chunks of activated charcoal, mostly in orchid mixes. Marketed as a toxin absorber and “sweetener.” The science is thin for houseplants, but it’s harmless and adds a bit of drainage — don’t pay a premium for it, don’t avoid a mix because of it.
Lime (dolomitic limestone). Added to peat-based mixes to raise pH into the 6.0s and supply calcium and magnesium. If you mix your own peat-heavy recipe, a tablespoon per gallon is the standard corrective — without it, straight peat sits too acidic for most plants.
Potting Soil vs. Potting Mix vs. Garden Soil
The terminology is a mess, and marketers exploit it. Here’s the honest breakdown:
“Potting mix” technically means a soilless blend — peat/coir, bark, perlite, vermiculite, with no actual mineral soil. Most quality indoor products are potting mixes, even when the bag says “potting soil.”
“Potting soil” on a label usually means the same thing as potting mix — it’s marketing language, not a technical distinction. Some cheaper “potting soils” do contain actual soil or sand, which makes them heavier and denser. The bag’s ingredient list tells the real story; the front label is advertising.
Garden soil / topsoil: never use it indoors. This is the big rule. Garden soil belongs in the ground, where the earth around it provides drainage and biology. In a pot, it compacts into an airless brick, drains terribly, and commonly carries fungus gnat larvae, weed seeds, and soil pathogens. Every university extension source agrees on this point — as Clemson’s houseplant guidance notes, outdoor soil is a source of pests, which is why they recommend commercially prepared potting soil for repotting. If you’re fighting recurring fungus gnats, and you potted with garden soil, you’ve found your culprit — repot into proper mix and the problem usually collapses.
The practical rule: buy bags labeled for containers/indoor use, read the ingredient list, and run the squeeze test. Ignore the poetry on the front of the bag.
What to Buy: Best Bagged Picks by Use Case
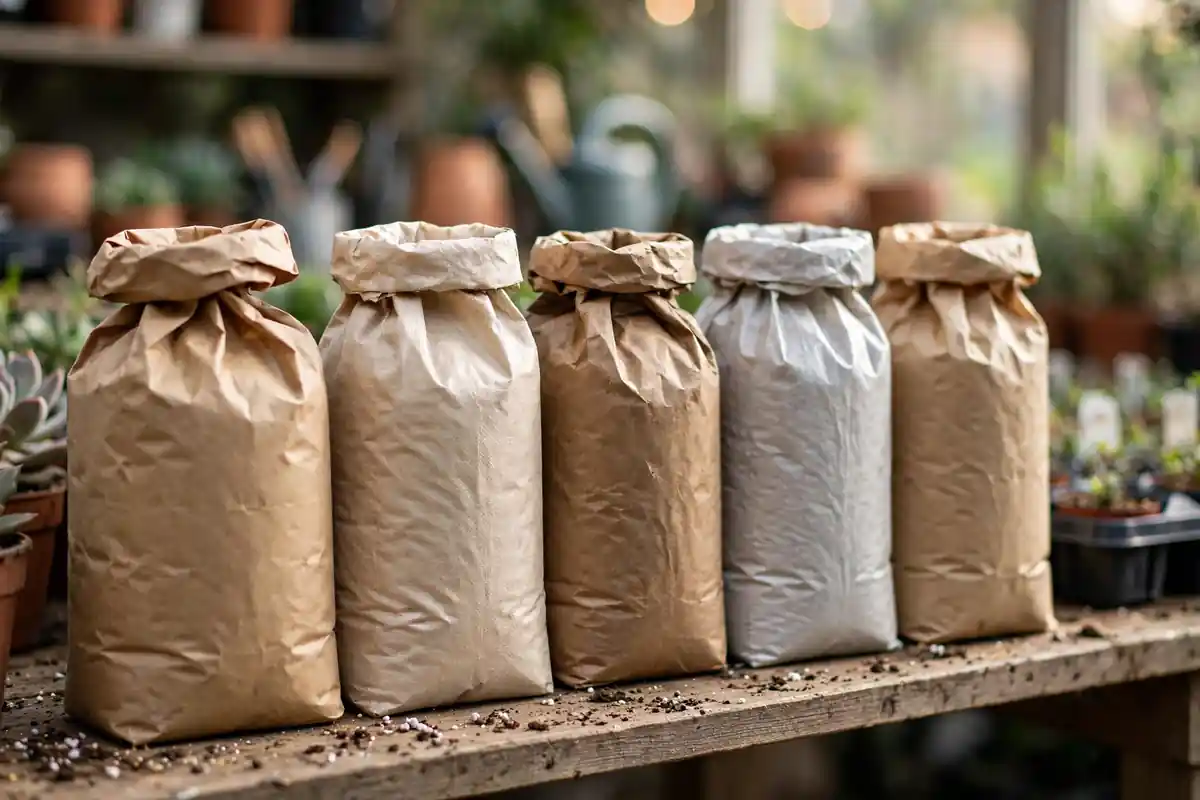
I’m not going to pretend I lab-tested thirty brands in a greenhouse — anyone who claims that about bagged soil is selling you something. What I can do is tell you exactly what to look for in each category, so you can pick a winner from whatever your local store stocks:
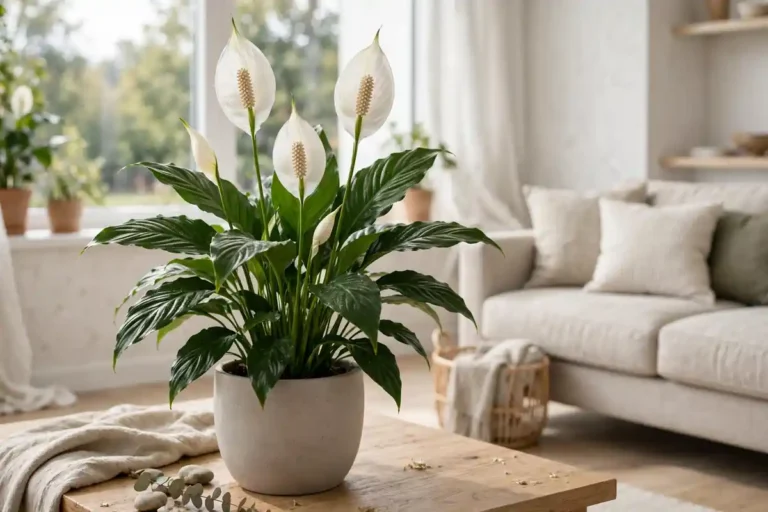
General tropical foliage (pothos, philodendron, monstera, peace lily). Look for: peat or coir base, visible perlite, plus bark chunks. The ingredient list should show bark or “forest products” and perlite — if it’s just peat + perlite dust, it’s a density problem waiting to happen. Good bags feel light for their size and you can see chunky pieces through the little window (or the torn corner — we’ve all done it).
Cactus & succulent mix. Look for: a gritty, sandy texture with prominent perlite or pumice. It should feel coarse and drain almost instantly. Many commercial “cactus mixes” are just regular potting soil with a little extra sand — squeeze-test it; if it holds together like regular mix, amend it yourself with 30–50% additional perlite or pumice before trusting it with your succulents.
Orchid mix. Look for: mostly bark chunks with some charcoal and perlite — it should look like wood chips, not soil. If it looks like dirt, it’s not orchid mix. Phalaenopsis orchids grow on trees; their roots need air more than moisture.
African violet mix. Look for: a light, fluffy peat-and-vermiculite blend, finer-textured than general mix. Violets like consistent light moisture without sogginess, and the fine texture suits their small root systems.
Seed starting mix. Look for: fine, sterile, soilless (peat/coir + vermiculite, no bark chunks, no added fertilizer). Seeds don’t need nutrition until they have true leaves — they need consistent moisture and zero pathogens.
Red flags on any bag: no ingredient list at all; smells sour, ammonia-like, or like rot (anaerobic — the bag sat wet); feels brick-heavy for its size (dense fillers); “moisture crystals” (water-retaining gel) listed high — they keep mix soggy and are unnecessary indoors; or the mix is visibly dusty-fine with no chunky material whatsoever.
Price reality check: the difference between the cheapest bag and a good bag is usually a few dollars, and one bag repots a lot of houseplants. This is the worst place in gardening to economize — a $4 savings isn’t worth a dead $40 plant.
The Peat vs. Peat-Free Debate, Honestly
You’ll increasingly see “peat-free” on bags, and it’s worth understanding what’s behind it rather than treating it as pure marketing.
Why the industry loves peat: it’s sterile, incredibly consistent bag-to-bag, lightweight, and holds water beautifully. Decades of commercial growing are built on it. For the plant, peat works great.
The environmental case against it: peat is harvested from bogs that took thousands of years to form. Harvesting releases stored carbon and destroys unique wetland habitats. Peat is technically renewable on a millennial timescale — which is to say, not renewable on any timescale that matters to us.
Coir as the main alternative: renewable (it’s a coconut waste product), similar water retention, neutral pH, and it rewets easily after drying — a genuine functional advantage over peat. Downsides: it’s shipped from tropical regions (transport footprint), cheap bricks can be salty (rinse well or buy buffered), and it holds onto calcium and magnesium, occasionally requiring supplemental feeding.
Other alternatives you’ll see: composted bark, wood fiber, and leaf mold — all workable, all with slightly different water behavior. The honest summary: both peat and peat-free mixes grow healthy houseplants. The practical difference is watering behavior — peat-free mixes (especially coir and bark-heavy ones) tend to dry a bit faster, so you water slightly more often. Choose based on your values and adjust your watering rhythm to the mix, not the other way around. Don’t let anyone tell you your plants will die because your mix contains (or doesn’t contain) peat.
How to Read a Bag Label Like a Pro
Front-of-bag claims are advertising. The truth is on the back panel. Here’s the 60-second label audit:
- Read the ingredient list first. Ingredients are listed by weight. Peat/coir first is normal. If “forest products,” “composted bark,” or actual soil appears before perlite, expect a denser mix. Vague terms (“natural organic materials”) with no specifics = cheapest possible fillers.
- Decode the fertilizer claim. “Feeds for up to 6 months” means slow-release fertilizer prills are mixed in — tiny yellowish balls you’ll see in the mix. That’s genuinely convenient, but know that it makes the mix “hot” (nutrient-rich) for seedlings and that the charge depletes — after ~6 months, you’re the fertilizer now.
- Check for wetting agents. Peat-based mixes often include a surfactant (listed as “wetting agent”) so the peat absorbs water instead of repelling it. Useful, harmless, and a sign the manufacturer understands peat’s hydrophobia problem.
- Note the volume vs. weight. Mixes are sold by dry volume (quarts/cubic feet), and compressed bales expand. A suspiciously heavy bag of “light” mix means dense, wet, or soil-containing product.
- Look for OMRI or organic certification if that matters to you — it verifies the inputs, though it says nothing about texture quality, which is what actually determines plant health.
- Check the intended use line. “For indoor containers” or “for houseplants” formulations are typically finer and lighter than outdoor container mixes, which are built chunkier for big pots and weather exposure. Either works indoors, but indoor-labeled bags need less amending.
Matching the Mix to Your Plant: The Cheat Sheet
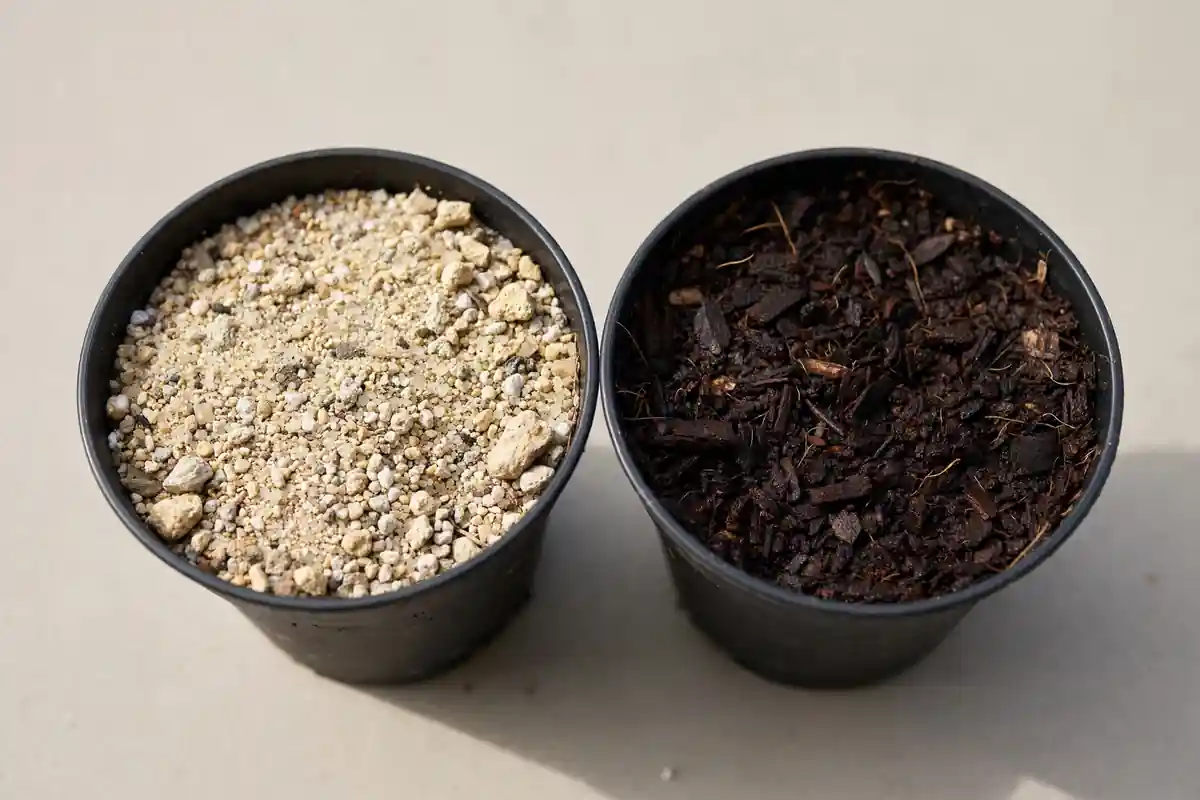
Bookmark this table. When you bring home a new plant, find its row and you’ll know exactly what it wants:
| Plant type | Ideal mix | Key traits | DIY starting ratio |
|---|---|---|---|
| Tropical foliage (monstera, pothos, philodendron) | Chunky aroid mix | Moisture-retentive + very airy | 40% potting mix, 30% bark, 20% perlite, 10% worm castings |
| Succulents & cacti | Gritty fast-draining mix | Drains in seconds, dries fully | 50% potting mix, 50% perlite/pumice (or commercial cactus mix + 30% grit) |
| Orchids (phalaenopsis) | Bark-based, no soil | Almost pure aeration | 70% bark, 20% perlite, 10% charcoal or sphagnum |
| Ferns (boston, bird’s nest) | Moisture-retentive mix | Holds water, never soggy | 60% potting mix, 20% vermiculite, 20% perlite |
| African violets | Light peat/vermiculite mix | Fine, fluffy, evenly moist | 50% peat/coir, 30% vermiculite, 20% perlite |
| Ficus & citrus (fiddle leaf fig, lemon trees) | Well-draining with bark | Structured, doesn’t compact | 50% potting mix, 25% bark, 25% perlite |
| Herbs indoors (basil, mint) | General mix + extra drainage | Moist but never waterlogged | 70% potting mix, 30% perlite |
Two notes on using this table. First, these are starting ratios — your home’s humidity, light, and watering habits shift the ideal. Dry apartment with bright light? Lean grittier. Humid bathroom with low light? Lean chunkier still — low light means slow water uptake, so drainage matters even more. Second, when in doubt between two mixes, choose the chunkier one. Overwatering kills far more houseplants than underwatering, and an airy mix forgives heavy-handed watering while a dense mix forgives nothing.
For step-by-step recipes with exact measurements, see our DIY potting mix guide — and when it’s time to actually move the plant, our repotting walkthrough covers the technique.
How to Upgrade a Store-Bought Bag
Here’s a professional secret: most experienced growers don’t use bagged mix straight. They buy a decent general-purpose bag and amend it, because manufacturers formulate for shelf appeal and low cost, which means too much fine peat and not enough chunky aeration. Fifteen minutes of amending fixes it:
The universal upgrade (tropical foliage): To every gallon of general potting mix, add roughly 2 big handfuls of perlite and 1 big handful of orchid bark. Mix thoroughly. You’ve just converted a dense $8 bag into something resembling a $20 specialty aroid mix.
The succulent rescue: If your “cactus mix” fails the squeeze test (holds together like regular soil), cut it 50/50 with perlite or pumice. Yes, half the bag. Succulent roots in dense mix are a countdown to rot.
The nutrition boost: Mix in 10–20% worm castings by volume. This adds gentle slow-release nutrition and beneficial biology that sterile bagged mixes lack. It’s the closest thing to a free lunch in potting.
The moisture tweak for ferns and calatheas: Add a handful of vermiculite per gallon to increase water retention without sacrificing aeration — vermiculite holds water inside its layers while perlite just creates air space around itself.
What not to add: gravel or pottery shards in the bottom of the pot (the old “drainage layer” myth — it actually raises the water table inside the pot and reduces root room; Virginia Tech’s extension gardening handbook covers proper potting technique and media in their indoor plants chapter), fine sand (compacts), or uncomposted fresh wood chips (they rob nitrogen as they decompose).
Mix in a bucket or tub, moisten lightly as you go (dry peat is dusty — a mask isn’t overkill), and store leftovers in a sealed bag or bin so it stays clean and pest-free.
When to Replace Your Soil (Not Just Repot)
Potting mix isn’t permanent. Organic components break down, structure collapses, salts accumulate, and after a couple of years even a great mix becomes a dense, tired medium. Here’s how to know it’s done:
- Water runs straight through the moment you pour, yet the plant still wilts — the mix has become hydrophobic (dried peat) or so compacted that water channels around the root ball instead of soaking in.
- White crust on the surface — fertilizer salt buildup. You can scrape it off and top-dress, but heavy buildup means the whole profile is salty.
- The soil pulls away from the pot edges, leaving a visible gap. The mix has shrunk and compacted; water now bypasses the roots entirely.
- Persistent fungus gnats despite letting the top dry out — they’re breeding in decomposing organic matter deep in old mix.
- It’s been 2–3 years since a full soil refresh, even if the plant looks okay. Preventive replacement beats emergency rescue.
Full replacement vs. top-dressing: Top-dressing (scraping off the top inch and adding fresh mix plus worm castings) is fine annual maintenance. But when the signs above appear, do a full replacement: remove the plant, shake/brush off as much old mix as the roots allow (don’t rip — tease), trim any black mushy roots, and repot in fresh mix. Spring is ideal; the plant is entering active growth and recovers fastest.
One more thing: when you replace soil, it’s the perfect moment to reassess pot size and mix choice. That succulent you potted in regular mix two years ago as a beginner? This is its second chance at the gritty mix it always wanted.
Frequently Asked Questions
There’s no single best — it depends on the plant. For most tropical houseplants (pothos, philodendron, monstera), the best choice is a chunky, well-draining mix containing peat or coir plus visible perlite and bark. For succulents, the best is a gritty fast-draining cactus mix amended with extra perlite or pumice. For orchids, it’s bark-based mix with no soil at all. Match the mix to the plant’s root needs using the cheat-sheet table above, and you’ll outperform any one “miracle” bag.
No — never use garden soil in indoor pots. It compacts into an airless mass in containers, drains poorly, and commonly introduces fungus gnat larvae, weed seeds, and soil pathogens. What works in the ground fails in a pot because there’s no surrounding earth to provide drainage and biological buffering. Always use a commercially prepared potting mix formulated for containers, and amend it with perlite or bark if it’s too dense.
Fully replace potting mix every 2–3 years, since organic components break down, structure collapses, and fertilizer salts accumulate. Top-dress annually (replace the top inch with fresh mix plus worm castings) as maintenance between full replacements. Replace sooner if you see warning signs: water running straight through, white salt crusts, soil shrinking from pot edges, or persistent fungus gnats. Spring is the best time for a full soil replacement.
This is the worst place in gardening to economize. Cheap bags typically contain fine, dusty fillers with little perlite or bark — exactly the dense texture that causes root rot. The price gap between a mediocre bag and a good one is usually just a few dollars, and one bag repots many plants. A $4 saving is never worth a dead $40 plant. Buy a decent mid-range bag and spend 15 minutes amending it with extra perlite and bark.
That white fuzzy mold is saprophytic fungus feeding on organic matter in consistently moist mix — it’s a symptom of soil staying too wet, not a plant disease. It usually means your mix is too dense, your pot lacks drainage, or you’re watering too often. Let the top inch dry between waterings, improve air circulation, and consider repotting into a chunkier mix.
Yes — this is non-negotiable. Succulents store water in their leaves and stems, so their roots are adapted to dry out completely between rains. Regular potting mix stays moist far too long and rots them. They need a gritty, fast-draining mix (at least 50% mineral grit like perlite or pumice). Many commercial “cactus mixes” are too dense out of the bag — squeeze-test yours and amend with extra grit if it holds together like regular soil.
Yes, for houseplant purposes both grow healthy plants. Peat-free mixes (usually coir, bark, and wood fiber based) work just as well but tend to dry out a bit faster, so you’ll water slightly more often. Coir even rewets more easily than peat after drying out. Choose based on your environmental values and simply adjust your watering rhythm to the mix. Don’t let anyone tell you your plants will fail because of your peat choice — watering habits matter far more.
You can, with conditions. Old mix from a healthy plant can be refreshed: remove old roots, break up compaction, mix in 30–50% fresh potting mix, add perlite and worm castings. But never reuse soil from a plant that had root rot, pests, or disease — pathogens and pest eggs persist. And if the old mix is more than 3 years old or has broken down into fine dust, retire it to outdoor beds or compost rather than forcing it back into service.
Your mix has become hydrophobic — most commonly dried-out peat moss, which repels water once fully dry. Water then runs down the gap between the shrunken root ball and the pot edge without wetting anything. Fix it by bottom-watering: set the pot in a basin of room-temperature water for 20–30 minutes so moisture wicks up through the drainage hole. Long-term, repot into fresh mix and avoid letting peat-based mixes dry to the bone repeatedly.
For the first few months, no — the slow-release prills mixed into the bag genuinely feed the plant. But the charge depletes, typically within 3–6 months depending on watering frequency (more watering = faster depletion). After that, you’re the fertilizer: feed with a balanced liquid houseplant fertilizer at half strength during spring and summer. And if you amend the bag heavily with perlite and bark (which contain no nutrients), start light feeding a bit earlier.