Why Is My Rubber Plant Dropping Leaves? Causes, Checks & the Stop-the-Drop Plan
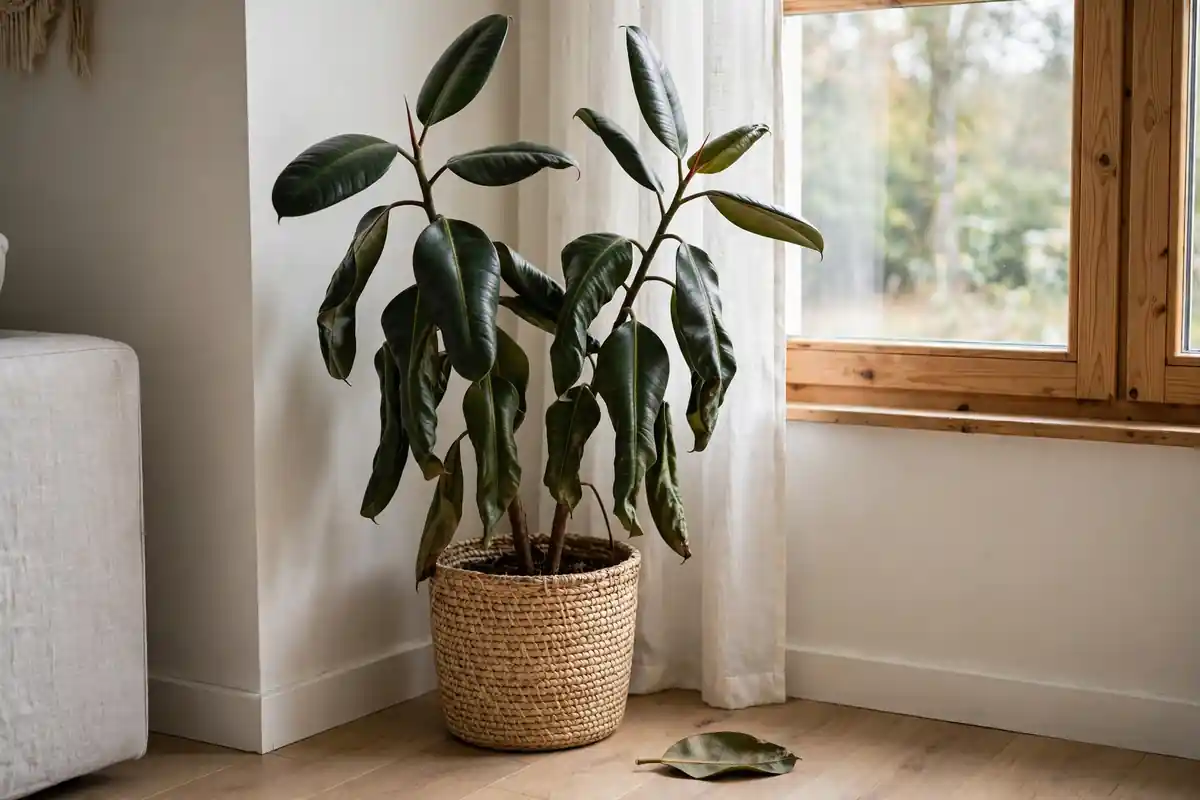
You walk past the corner where your rubber plant lives, and there’s a big glossy leaf lying on the floor. Then another one the next day. Few houseplant sights are as quietly alarming — mostly because rubber plants have a reputation for being tough, and a tough plant shedding leaves feels like a bigger failure than it is.
Here’s the fast answer, and it’s the key to this whole guide: a rubber plant drops leaves as a stress signal, and the most common trigger is a change. A move to a new spot. A repot. The trip home from the store. The heating coming on. Rubber plants (Ficus elastica) are creatures of deep habit — in the wild they’re long-lived rainforest trees that stay in one place for a century — and they answer disruption by letting go of leaves they no longer trust the conditions to support. Watering problems run a close second, and the two often arrive together, because a moved plant also gets watered differently.
So before you change anything, I want you to resist the urge to do something — no emergency repot, no fertilizer, no extra water “to help it settle.” The first job is detective work: read the pattern of the drop, run three quick checks, and ask the most diagnostic question in rubber plant care: what changed in the last two to four weeks? In my experience that question alone answers the majority of cases. The rest of this guide is how to confirm it, stop the drop, and — honestly, because this part matters — what the plant will look like afterward.
First, Read the Pattern: Not All Leaf Drop Is the Same
A rubber plant can’t tell you what’s wrong, but the way it’s dropping leaves narrows the field enormously. Three things to read: where the leaves come from, what they look like when they let go, and how fast it’s happening.
Where they’re dropping from:
- Lowest leaves only, one at a time, over weeks — the plant is retiring its oldest leaves as it grows upward. This is the normal pattern on a maturing plant and, on its own, barely a problem at all (more in Cause 8).
- Leaves from all over, or from the middle and top — that’s not housekeeping. Something about the plant’s current conditions is wrong.
- One side only — the side facing a window, a vent, or a door. Geography is a confession: cold, draft, or sun on that side.
What the fallen leaves look like:
- Green, firm, and healthy-looking — they just let go. This is the classic shock signature. The plant isn’t sick; it’s protesting a change. Location moves, repotting, and sudden light or temperature shifts are the usual story.
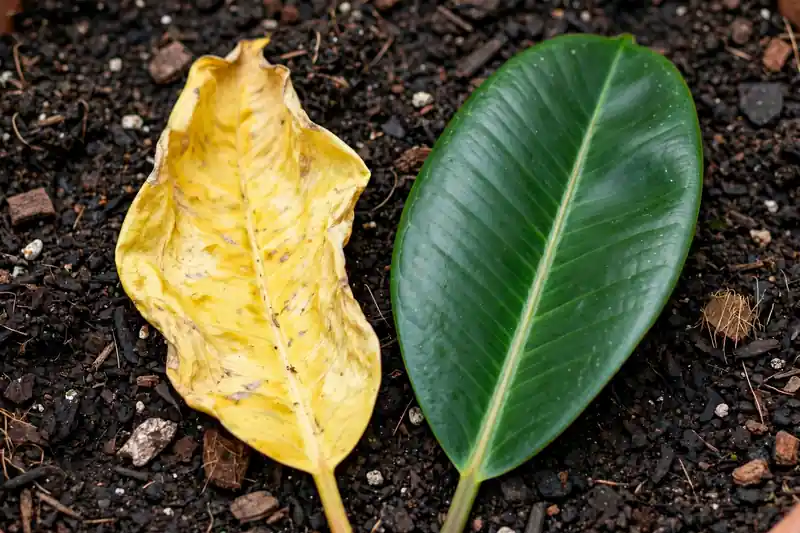
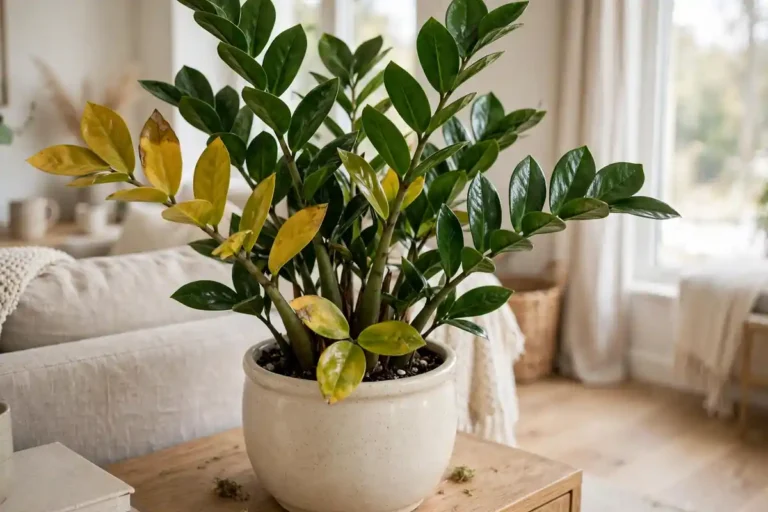
- Yellow first, then drop. The plant withdrew what it could from the leaf before letting go — a slower, resource-driven decision. Chronic overwatering and root trouble are the top suspects, with low light and plain old age behind them.
- Dry, crispy, or curled before dropping. A thirst or cold story: long underwatering, a cold snap, or weeks parked against chilly glass.
How fast:
- A sudden handful within days of something happening (a move, a repot, a cold night, bringing it home) — an event, not a trend. Find the event.
- A slow drip of a leaf a week for a month or more — a chronic condition: light, watering rhythm, or roots.
Match your plant to the table:
| What you see | Most likely story | Go to |
|---|---|---|
| Green, healthy leaves dropping within days of a move, repot, or bringing it home | Change shock | Cause 1 |
| Lower leaves yellowing then dropping; soil still wet a week after watering; pot heavy | Overwatering / root rot | Cause 2 |
| Leaves dry and crispy; pot feather-light; soil pulled away from the pot’s edges | Underwatering | Cause 3 |
| Drop started when the heating/AC season changed; plant near a vent, door, or cold glass | Cold drafts / temperature swings | Cause 4 |
| Gradual drop, longest in a dim corner; new leaves smaller and paler; stems stretching | Low light | Cause 5 |
| Drop in the 2–3 weeks after repotting, soil and light unchanged | Repotting shock | Cause 6 |
| Drop with sticky leaves, cottony tufts, bumps on stems, or fine webbing | Pests | Cause 7 |
| One oldest leaf every few weeks; plant otherwise growing and glossy | Natural aging | Cause 8 |
The Three Checks: Run These Before You Change Anything
Diagnosis first, treatment second. These three checks take about five minutes and, between them, cover nearly every cause on the list.
Check 1 — The soil, deep. Don’t just scratch the surface. Push a finger or a wooden skewer down to the bottom of the pot. Rubber plants want the top couple of inches dry between waterings, but the bottom of the pot tells the real story: if the mix down there is still wet and cool a week or more after you last watered, the roots are living in saturation — that’s the overwatering setup, whatever the surface looks like. Also lift the pot. A waterlogged pot is heavy; a droughted one is startlingly light. And empty the saucer question: is the pot standing in runoff inside a decorative cachepot? A hidden puddle at the bottom has drowned more rubber plants than any watering can.
Check 2 — The pest inspection. Rubber plant pests are masters of the unexamined underside. Take the plant to good light and look at: the undersides of several leaves, especially along the thick pale midrib (scale insects settle there, looking like small brown or tan bumps that don’t move); the joints where leaf stems meet the main stem, and the crooks of new growth (mealybugs — white, cottony tufts); and the leaf surface generally for fine stippled speckling or any hint of webbing (spider mites, which love a dry, heated room). Also run a finger over a leaf: stickiness — honeydew — means something above is feeding even if you haven’t found it yet. A plant can drop leaves for weeks from a scale infestation nobody saw, because nobody turned a leaf over.
Check 3 — The change timeline. Sit down and list what has changed for this plant in the last month. Moved rooms, or even moved across the room? Repotted, or a new pot? Brought home from the store or a friend’s house? Heating or air conditioning started up? A window nearby now opened at night, or curtains newly closed? Days got shorter and the corner got darker? Even being rotated so a different side faces the light counts — ficus notice. If the drop began within about two weeks of one of these, you very likely have your cause, and the fix is mostly patience plus stability.
The fast path — the 1-Minute Root Cause Test. If you want the short route through those checks, run these four steps in order: 1) Touch the soil: soggy → overwatering; bone dry → underwatering; normal → step 2. 2) Check the fallen leaves: soft and yellow → overwatering; dry and crispy → underwatering; firm and green → step 3. 3) Think about recent changes: moved the plant → relocation stress; repotted → transplant shock; neither → step 4. 4) Check the light: more than about five feet from a window, or a genuinely dark room → low light. Most cases resolve at one of those four steps.
The Causes, One by One
1. A change of place — the classic rubber plant protest
Rubber plants are famously set in their ways. A plant that grew up in a greenhouse’s bright, humid, unchanging air, then rode in a car, then landed in your living room, has had its whole world rewritten twice in a week. A plant moved from a bright kitchen to a dim hallway has lost half its income. The response to a sudden downgrade — or any abrupt shift — is to shed the leaves the plant no longer expects to afford. Green, firm leaves dropping in the days after a change, on a plant whose soil is fine, is this cause introducing itself.
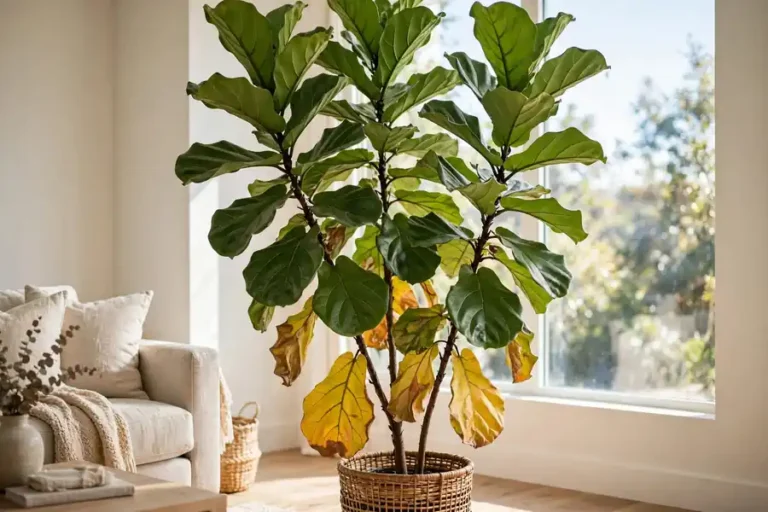
Your rubber plant’s dramatic cousin does the same thing more theatrically — if you’ve ever watched a fiddle leaf fig turn yellow after a move, you’ve seen the family trait. The rubber plant is the stoic sibling: fewer leaves lost, same message.
The fix is almost embarrassingly simple: stop changing things. Put the plant in the best bright, indirect spot you have — near an east window, or a few feet back from a south or west one — and leave it there. Don’t move it back to the old spot “to apologize”; a second move is a second shock. Keep watering normal and steady. Then wait: a protest drop typically runs its course over two to four weeks as the plant recalibrates to the light it’s actually getting, growing fresh leaves tuned to the new conditions. A plant brought home from the store gets this grace period automatically in my house — a few leaves in the first fortnight is the price of relocation, not a failure of care.
2. Overwatering and root rot — the quiet killer
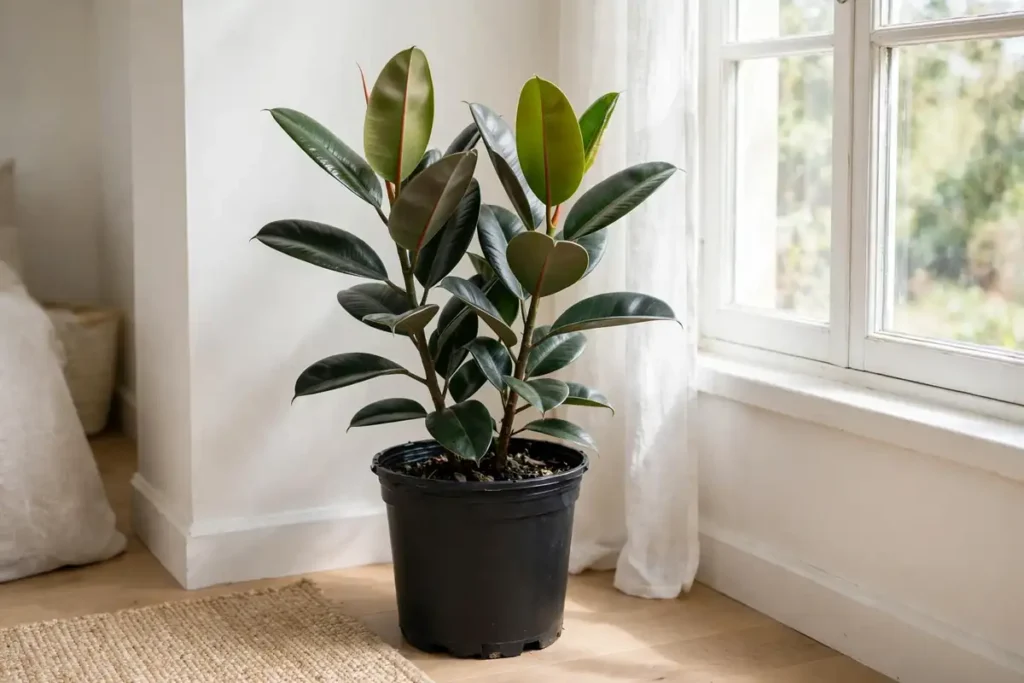
The second big cause, and the one that actually kills. A rubber plant kept too wet follows the familiar sequence: roots suffocate in saturated soil, root tissue starts to die, and the organisms that live in every potting mix move in. Above ground the plant can’t take up water properly, so it sheds leaves to cut its losses — yellowing first, lower leaves earliest, in soil that never seems to dry. Owners often say “it looks thirsty but the soil is wet,” which is the whole diagnosis in one sentence.
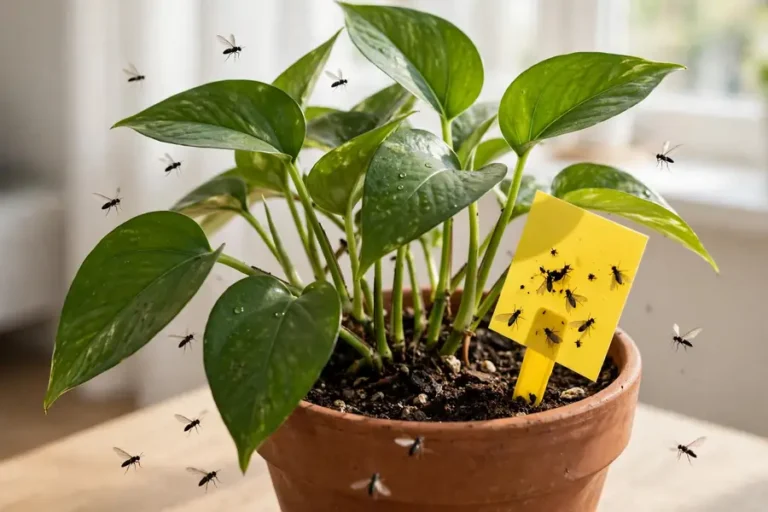
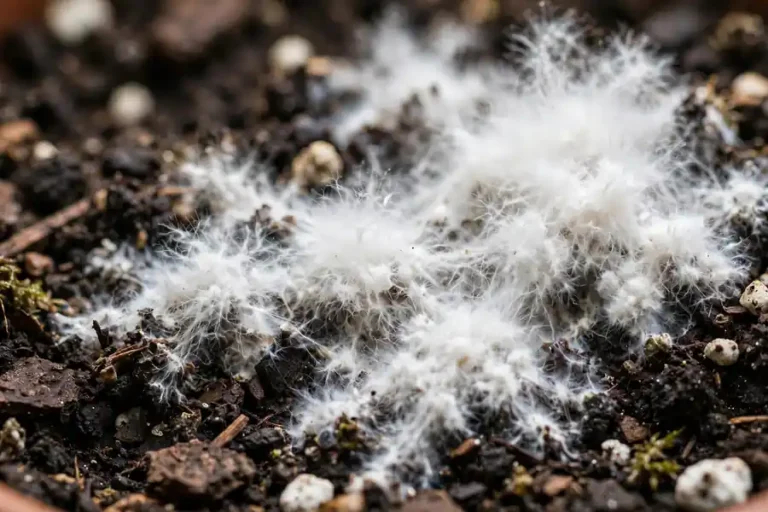
How to tell it’s this: the deep-soil check comes back wet long after watering; the pot stays heavy; lower leaves yellow and drop over weeks; there may be a sour smell from the pot, white mold fuzzing the soil surface, or a drift of tiny fungus gnats — both are fellow travelers of soil that never dries; and the decisive test, if you unpot, is roots that are brown, soft, or stringy instead of pale and firm. It’s the same wet-soil failure that turns a pothos yellow from the bottom up — different plant, same drowning.
The fix, by severity. Mild — soil soggy but the plant still holding most leaves, no sour smell: stop watering, move the plant to your brightest indirect light (light is what lets a plant use water), empty any standing water in the saucer or cachepot, and don’t water again until the top two to three inches are dry and the deep mix is merely cool, not wet. Many mildly overwatered rubber plants steady themselves within a few weeks once the drowning stops. Advanced — sour smell, stems soft at the base, drop accelerating: unpot it. Shake off the wet mix, cut away every brown, mushy root back to firm pale tissue with clean scissors, and repot into fresh, airy mix (a houseplant mix with extra perlite or bark worked through) in a pot with a working drainage hole, sized to the roots that remain. Water once, lightly, to settle — then hands off until the mix dries properly. Feeding a plant in this state is salt on a wound; skip fertilizer for at least a couple of months.
3. Underwatering — the slow dry-out
Rubber plants have thick, water-storing leaves and forgive a missed watering gracefully — which is why true drought drop takes a while to arrive: weeks of neglect, a vacation with no sitter, a plant in a bright warm spot drinking more than the routine allows. The signs are the mirror image of Cause 2: a feather-light pot, soil dry all the way down and pulling away from the pot’s sides, leaves that droop or curl, then dry at the edges, crisp, and drop.
The fix is the pleasant one: water thoroughly, until it runs freely from the drainage holes. If the mix has gone bone-dry and water runs straight through without soaking in, bottom-water the pot in a basin for half an hour so the mix can actually rewet, then drain it completely. A droughted plant usually perks up within a day or two; leaves already crisped won’t recover, but the drop should stop. Then set a rhythm the plant can count on (below).
4. Cold drafts and temperature swings
Rubber plants are comfortable roughly between 65 and 80°F and they dislike the edges of that range arriving suddenly. The classic setups: a plant against a windowpane on a January night, when the glass can be far colder than the room; a pot beside a door that opens to winter air all day; the blast zone of a heating or cooling vent, which alternates hot-dry and cold air across the leaves. The drop often concentrates on the vent-facing or window-facing side, and it dates to when the season — and the heating — changed.
The fix is placement, not products: move the plant a few feet so it’s out of moving air and off cold glass, into steady temperatures, and let it be. Leaves damaged by a genuine chill (dark, water-soaked-looking patches) won’t recover and can be removed once you’re sure of the extent; the plant itself usually carries on if the roots and stem stayed warm.
5. Low light — the slow fade
A rubber plant in a dim corner doesn’t collapse; it economizes. Growth slows, new leaves come in smaller and paler and further apart on the stem, and the plant sheds lower and inner leaves it can no longer pay for. This is the drop of the plant that’s been in the same dark hallway for a year, getting a leaf poorer every month. Variegated types — the cream-and-pink ‘Tineke’ and its relatives — feel it first and worst, because part of each leaf isn’t photosynthesizing at all; they need noticeably more light than the plain green form.
The fix: more light, introduced gradually. Move the plant toward brightness in steps over a week or two — a sudden leap from a dark corner into direct sun scorches leaves that aren’t built for it. The destination is the brightest indirect spot you have: an east window’s gentle morning sun is ideal; a few feet back from a south or west window works; a simple grow light on a timer, 12 hours a day, genuinely fixes a room that has no bright spot. Judge success over a month or two of new growth — sturdier, glossier, closer-spaced leaves — not by the drop stopping overnight, though it usually slows within a few weeks.
6. Repotting shock
A repot is a move and a root disturbance in one event, so a rubber plant that drops some leaves in the two or three weeks after repotting is behaving normally — it’s balancing a reduced root system against its canopy while it re-establishes. This is especially common when the repot involved root pruning, a big change of mix, or a much larger pot.
The fix is restraint: bright indirect light, evenly lightly-moist soil (not wet), no fertilizer for four to six weeks, and absolutely no second repot “to check on it.” If the drop is still worsening a month later, something else went wrong at the repot — a crown buried deeper than before, or a pot so oversized that the mix stays wet for weeks (a big volume of soil around modest roots is experienced by the plant as permanent overwatering — that’s Cause 2 wearing a disguise, and the fix is to pot back down to size).
7. Pests — the cause nobody sees
Pests rarely strip a rubber plant on their own, but a established infestation weakens it steadily, and a stressed plant sheds. The three regulars:
- Scale — the ficus specialist. Small, immobile brown or tan bumps along the midrib and veins on leaf undersides and along stems. They suck sap and excrete sticky honeydew. Scrape them off with a soft toothbrush or the edge of a card, wipe the area with a cotton pad of rubbing alcohol, and repeat weekly — scale’s armor shrugs off a single spray.
- Mealybugs — white cottony clusters in leaf joints and the crooks of stems. Dab each cluster with a rubbing-alcohol cotton swab, then treat the plant with insecticidal soap, getting into the joints.
- Spider mites — fine stippling and a dusty, bronzed look on leaves, sometimes webbing where leaf meets stem; they thrive in the same dry heated air as a winter draft problem. Shower the plant thoroughly, undersides especially, then insecticidal soap or neem, weekly for three weeks.
The routine that works: isolate the plant, remove what you can by hand and swab, treat weekly for three rounds (eggs hatch between treatments), and re-inspect before it rejoins the collection. And build the monthly leaf-underside check into your habits — every pest on this list is a nuisance in week one and a siege in month three.
8. Natural aging — the one that isn’t a problem
A rubber plant is a tree wearing a pot. As the stem grows upward and thickens toward bark, the plant retires its lowest, oldest leaves — they yellow slowly, one at a time, over weeks, while the top keeps producing glossy new growth. Losing an old lower leaf every few weeks on an otherwise thriving plant is not a symptom; it’s the plant becoming a small tree. The trunk that results is a feature — most people want that tree form eventually.
The honest calibration: normal aging is slow (a leaf every few weeks, not several a week), low (the oldest leaves only), and accompanied by growth (new leaves unfurling at the tip, the stem thickening). If your plant is dropping faster, higher, or without growing, it’s not aging — go back up the list.
The Stop-the-Drop Protocol: Your First Two Weeks
Whatever the cause (short of advanced root rot, which needs its surgery), the stabilizing routine is the same. Think of it as putting the plant in a quiet room to recover:
- Stop moving it. Choose the best bright, indirect, draft-free spot you can offer, put the plant there, and commit. Every relocation restarts the stress clock.
- Fix the water to match the soil’s actual state. Wet deep down → no water until the top few inches are dry and the pot lightens. Bone dry → one thorough drink, then normal rhythm. Normal rhythm from here: water when the top two inches are dry, thoroughly, and always empty the saucer.
- Do nothing else drastic. No fertilizer (a shedding plant can’t use it, and salts stress damaged roots). No repot unless you’ve confirmed rot. No pruning yet — decisions about shape wait until the plant is stable and growing, ideally until spring.
- Clean the leaves. Wipe the big leaves with a damp cloth, top and undersides. Dust genuinely costs a rubber plant light — those broad leaves are its solar panels — and the wipe doubles as your pest inspection.
- Watch for the two recovery signs. The drop slowing and then stopping (count fallen leaves per week; the trend is the data), and the growing tip staying alive — a rubber plant that’s still working on its next leaf, still wrapped in that pointed reddish sheath at the tip, is a plant that’s fighting. That’s the same mercy as a peace lily that perks back up after watering: the visible signal that the plant’s core systems are intact.
What NOT to do during recovery: don’t repot it (that’s more shock on top of shock), don’t keep moving it around (it just settled — let it), don’t fertilize until new growth appears, and above all don’t overwater out of guilt — the single most common post-drop mistake. A dropping rubber plant needs stability, not attention.
The Honest Verdict: What Grows Back, and What Doesn’t
This is the section most rubber plant advice skips, so let me be plain, because your expectations decide whether this feels like a recovery or a disappointment.
A dropped leaf does not regrow. The spot where a leaf was attached — the node — does not produce a replacement leaf at that same place. A bare stretch of stem stays bare. If your plant has dropped its lower leaves, that trunk section is permanent, and no product, fertilizer, or ritual changes it. Anyone who promises otherwise is selling something.
What the plant does instead: it grows from the top — the growing tip keeps extending and unfurling new leaves — and it can wake dormant buds at nodes along the stem, usually the ones nearest the tip or nearest a cut. New growth is how a rubber plant recovers: not by refilling the bare stem, but by building a fuller canopy above and, if you help it, beside it.
Making a leggy plant branch. If the drop has left you with a tall, bare stem and a tuft on top, the honest fix is pruning, and the right season is spring, when the plant is geared to grow:
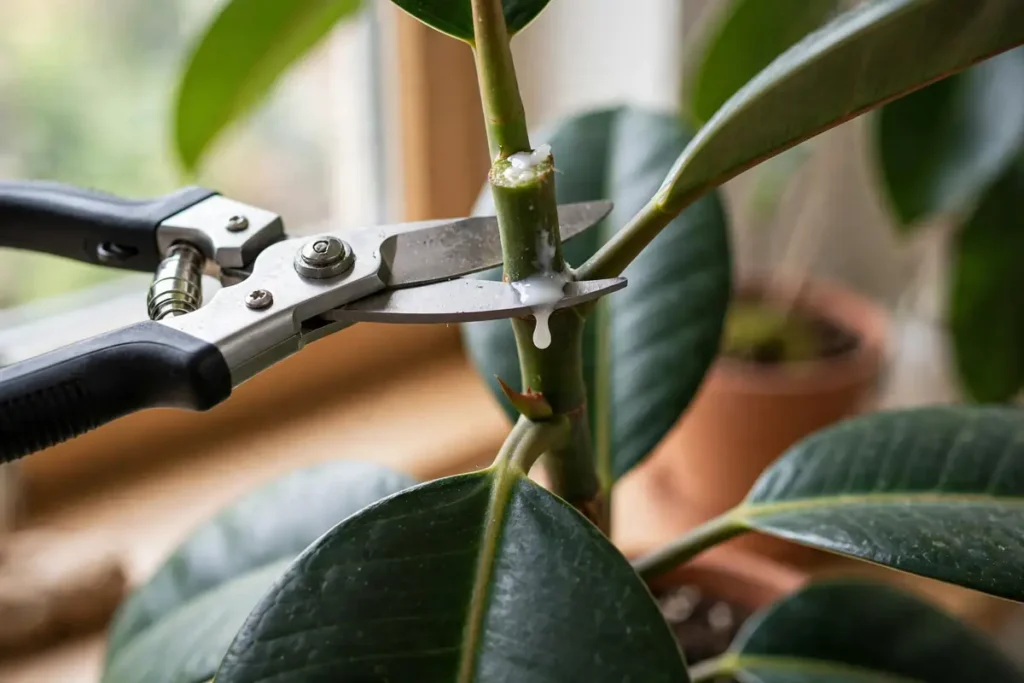
- Tip pruning (the reliable method). Cut the stem just above a node — the slight ring/bump where a leaf was attached — at the height where you want branching to start. Wear gloves: the cut bleeds a milky white sap that’s a skin irritant (and can stain fabric), so work over newspaper and keep it off your skin. The plant typically responds by pushing two or more new shoots from the nodes just below the cut over the following weeks of the growing season. And the piece you cut off isn’t waste — a healthy stem tip roots readily as a cutting (callus it a few days, then pot in gritty mix, or root in water), so a pruning can turn one leggy plant into two.
- Notching (the unreliable one). You’ll see this advised: make a shallow cut into the stem just above a node on a bare section to interrupt the flow of growth hormones and coax that node into sprouting. Honestly? It works sometimes, on some plants, in the growing season — and often the node just sits there while the tip keeps growing. Try it on a node or two if you like; don’t plan the plant’s future around it. Tip pruning is the lever that actually moves things.
The timeline to expect. With the cause fixed and conditions stable: the drop should slow within one to two weeks and stop within about two to four. New leaves in the growing season follow within weeks. But if your plant’s crisis lands in autumn or winter, understand the calendar you’re on: a rubber plant in low winter light may simply hold its position — alive, stable, not growing — until spring. That isn’t failure. Regrowth is a spring and summer story, and a plant that comes through winter with its remaining leaves and a live tip has won the only victory winter offers.
Recovery timelines, honestly split — because “when will it stop dropping?” and “when will it look full again?” are two different questions:
| Cause | Drop stops | New growth |
|---|---|---|
| Relocation / move shock | 1–3 weeks once settled | 3–6 weeks in spring/summer |
| Overwatering, mild | 2–4 weeks after drying out | 1–2 months |
| Overwatering with root rot | Weeks, after root repair | 1–3 months |
| Underwatering | Days after a proper watering | Weeks |
| Low light | After the move to brighter light | New leaves hold; bare sections stay bare |
| Cold draft | 1–3 weeks after relocating | Spring growth |
| Pests | Once treatment completes | Weeks to months |
One footnote that matters: in winter, shift every “new growth” column later. A rubber plant in December mostly holds its position and does its growing in spring — silence in January is dormancy, not failure.
Prevention: Keep the Next Drop From Happening
- Acclimate, don’t relocate. Any unavoidable move — new home, new room, out to a brighter spot — goes better in steps: shift the plant toward its new light level over one to two weeks rather than in a single leap, and expect to forgive it a leaf or two anyway. For a brand-new plant, the kindest start is bright indirect light close to what a store or greenhouse gave it, no repot for the first few weeks, and water only when the top of the mix is dry — nursery soil often arrives saturated.
- Pick the spot like you mean it. Bright indirect light, steady temperatures in the 65–80°F range, out of vent blasts and away from doors and cold glass — then leave the plant there. Stability is a care input for this species, as real as water.
- Water by dryness, not by date. Top two inches dry → water thoroughly → drain → empty the saucer. The rhythm stretches in winter and shortens in summer; the soil, not the calendar, decides.
- Rotate, don’t relocate. A quarter-turn every week or two keeps growth even without changing the plant’s world. Wipe the leaves while you’re at it.
- Repot rarely, gently, in spring. One size up, same depth as before, and only when roots genuinely fill the current pot. A rubber plant that isn’t pot-bound does not need an annual repot, and each one costs it a few leaves.
For the botanist’s-eye view of the species itself — growth habit, cultivars, and what this plant wants when it’s a tree rather than a houseplant — NC State Extension’s Ficus elastica profile is a solid, no-drama reference to keep bookmarked.
Triage: How Worried Should You Be?
Probably normal — stabilize and observe:
- A few green leaves dropped in the two weeks after a move, a repot, or bringing the plant home, with the drop slowing.
- One oldest lower leaf yellowing and letting go every few weeks on a plant that’s growing at the top.
- A drop that started when the heating came on and stopped once you moved the plant away from the vent.
Act this week:
- Several leaves a week for more than two weeks, or the drop climbing into the middle and top of the plant.
- Soil still wet a week after watering, a pot that never lightens, or mold/gnats appearing at the soil surface — the wet-soil complex.
- Sticky leaves, bumps, cottony tufts, or stippling found on inspection — start the pest routine.
- A plant fading slowly in a dark corner with smaller, paler new leaves — begin the gradual move to real light.
Act today:
- A sour smell from the pot, stems soft at the base, leaves dropping in numbers over wet soil — unpot and check the roots for rot now; rot doesn’t wait.
- A mass drop right after a night against freezing glass or a blast of cold air — move the plant to a steady warm spot first, then assess.
- Leaves dropping while covered in webbing or heavy scale — isolate the plant from the rest of your collection today, then treat.
Frequently Asked Questions
Will my rubber plant’s fallen leaves grow back? Not at the same spots. A node that has lost its leaf doesn’t produce a replacement leaf there, so bare stem sections stay bare. What the plant does instead is grow new leaves from its tip and, when pruned or when conditions improve, push fresh shoots from dormant nodes — usually near the top or just below a pruning cut. The recovery is a fuller canopy over time, not a refilled trunk.
Is it normal for a rubber plant to drop its bottom leaves? Yes, within limits. As the plant grows taller and its stem thickens, it retires its oldest, lowest leaves — one at a time, slowly, over weeks, while new leaves keep coming at the top. That is a tree forming, not a plant failing. It stops being “normal” when the drop is fast, when it climbs above the lowest leaves, or when no new growth is replacing what’s lost.
Why is my rubber plant dropping leaves right after I brought it home? Because its world changed completely — light, humidity, temperature, and watering all at once. This is the single most common rubber plant leaf-drop story. Give it bright indirect light, don’t repot it yet, water only when the top of the mix dries, and leave it in one place. A few leaves over the first two to three weeks is acclimation; it should taper off as the plant settles.
How long does it take a rubber plant to recover from leaf drop? The drop itself usually stops within two to four weeks once the cause is fixed and the plant is left in stable conditions. Visible regrowth — new leaves at the tip — takes a few weeks in spring and summer. In autumn and winter, expect the plant to hold steady rather than regrow; judge a winter recovery by “it stopped dropping and the tip is alive,” and let spring deliver the new leaves.
Should I repot a rubber plant that’s dropping leaves? Usually no — repotting is itself a shock, and stacking it on top of the current stress makes things worse. The exception is confirmed root rot: sour-smelling soil, soft stem bases, brown mushy roots. That plant gets unpotted, trimmed back to healthy roots, and repotted into fresh mix as a rescue, not a routine. A merely unhappy plant gets stability, not surgery.
Can a rubber plant come back if it loses all its leaves? Often, yes — if the stem is still firm and green and the roots are sound. A leafless ficus stem holds dormant buds at its nodes, and in the growing season, with bright indirect light and careful watering (the soil should dry between waterings; a leafless plant drinks very slowly), those buds can push out new shoots over a period of weeks to a couple of months. If the stem is soft, shriveled, or hollow and the roots are mush, that plant is gone — but check before you compost: firmness is the dividing line.
Is the white sap from a rubber plant dangerous? It’s an irritant rather than a serious poison for most people, but treat it with respect: the milky latex sap can irritate skin and eyes, and it’s a genuine problem if a pet chews the leaves or stems. Wear gloves when you prune, wash up afterward, and keep pruned pieces away from pets and small children. If a pet actually eats a good amount, a call to the vet is the sensible move.
How often should I water a rubber plant? When the top two inches of soil are dry — then thoroughly, until water runs from the drainage holes, and empty the saucer afterward. In a bright spot in summer that might be every week or two; in winter or lower light, every two to three weeks or longer. The plant’s thick leaves store water, so it tolerates a late watering far better than an early one. Let the soil set the schedule.
Is my rubber plant dying if it drops 5 leaves? Probably not. If new growth continues and the stems stay firm, it’s adjusting — rubber plants shed leaves in response to change the way we shed a coat indoors. Worry when stems soften, or when the drop is relentless for months with no new growth to balance it.
Why are my rubber plant leaves curling? Usually underwatering or dry air. Check the soil first: curling plus dry soil means water; curling plus wet soil means root trouble — the roots can’t deliver water the leaves are asking for, which is the overwatering story in disguise.
A rubber plant dropping leaves feels like a betrayal from the plant that was supposed to be the easy one. It usually isn’t a betrayal at all — it’s a report. Something changed, or something has been quietly wet, dark, or drafty for a while, and the plant is balancing its books the only way it can. Read the pattern, fix the one thing that’s actually wrong, and then give it the two gifts this species values above all others: a good spot, and being left alone in it. The next leaf — look for that pointed red sheath at the tip — is the plant telling you the report has been received.
One Comment