Brown Tips on Spider Plant Leaves: 9 Causes & Quick Fixes
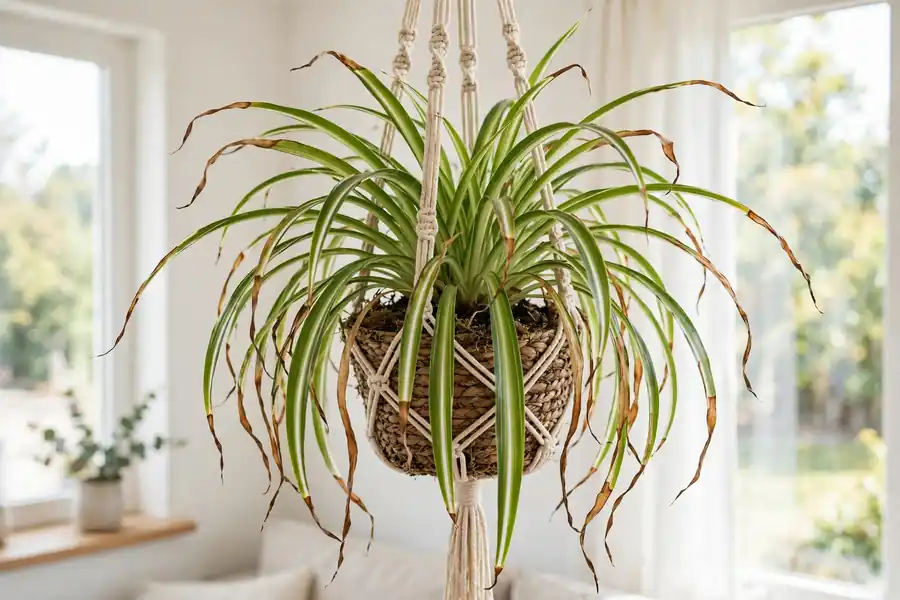
Brown, crispy tips are the single most common spider plant complaint — and one of the easiest to fix once you know the real cause. Here’s the surprise most guides bury: it’s usually your tap water, not your watering schedule. Spider plants (Chlorophytum comosum) are sensitive to fluoride, which builds up in leaf tips over months of watering.
Before you change anything, read the diagnosis table. The texture and pattern of the browning tells you exactly what’s wrong.
In This Guide
- Quick diagnosis table
- The 9 causes (with fixes)
- How to trim brown tips properly (with photos)
- The fluoride test
- Prevention checklist
- FAQs
Quick Diagnosis Table
| What you see | Most likely cause | Fix |
|---|---|---|
| Thin, papery brown tips; white crust on soil | Fluoride/mineral buildup in water | Cause #1 |
| Brown tips + leaves curling inward | Underwatering or very dry air | Cause #2 |
| Brown tips + yellow leaves, soggy soil | Overwatering | Cause #3 |
| Brown tips with pale, bleached streaks | Too much direct sun | Cause #4 |
| Brown tips right after fertilizing | Fertilizer burn (salt buildup) | Cause #5 |
| Brown tips + overall droop, dry soil | Compacted, hydrophobic soil | Cause #6 |
| Brown tips only on oldest, outer leaves | Natural aging | Cause #7 |
| Brown tips + tiny webs or sticky spots | Pests | Cause #8 |
| Brown tips + black mushy base | Root rot (advanced) | Cause #9 |
1. Fluoride in Tap Water (the #1 cause)
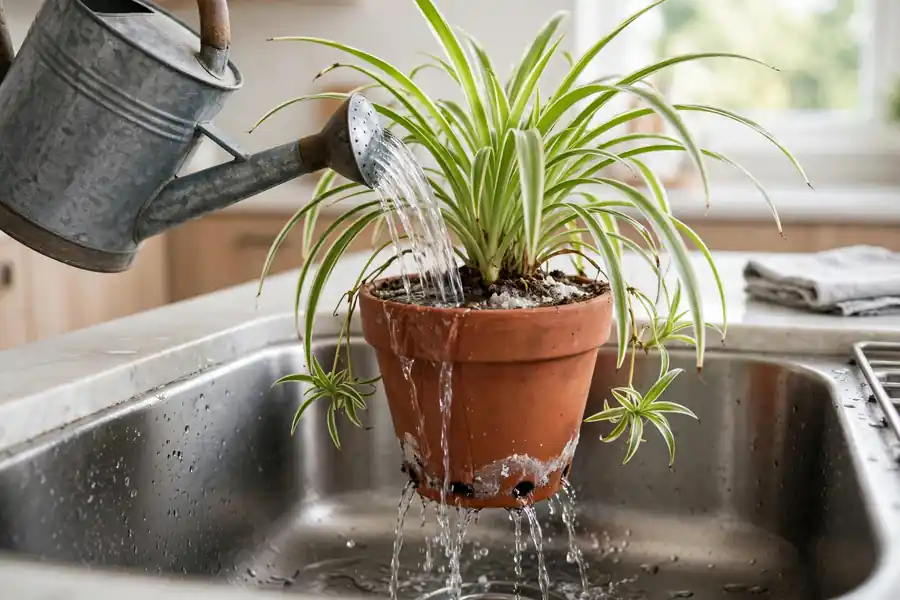
Many U.S. municipal water supplies add fluoride, and spider plants accumulate it in their leaf tissue over time. The result: characteristic brown tip burn that does not improve no matter how perfectly you water. Critical fact most guides get wrong: letting tap water sit out overnight removes chlorine, but does NOT remove fluoride. Fluoride doesn’t evaporate.
Signs: Brown tips develop slowly over months despite good care; no other symptoms; you’re on municipal tap water.
Fix: Switch to filtered, distilled, or rainwater for 4–6 weeks and watch new growth. Do the fluoride test below to confirm before you spend money on filters.
The fluoride test: If brown tips persist after 6 weeks of perfect watering with distilled water, fluoride was your culprit. If they persist even with distilled water, move down this list.
2. Underwatering or Low Humidity
Spider plants like consistently moist (not soggy) soil. Let them dry out completely too often, or keep them in dry winter air below 30–35% humidity, and leaf margins desiccate.
Signs: Brown tips plus leaves curling inward; soil bone-dry; papery texture; worse in winter near heating vents.
Fix: Water when the top inch of soil is dry. Raise humidity with a pebble tray or by grouping plants. Move the plant away from radiators and AC vents. Brown edges on calatheas follow the same humidity logic.
3. Overwatering
Yes, it causes brown tips too — soggy roots can’t deliver water properly, so leaf tips die back even though the soil is wet.
Signs: Brown tips plus yellowing leaves; soil stays wet for a week+; pot feels heavy; possible musty smell.
Fix: Let the top 1–2 inches dry between waterings. Ensure drainage holes aren’t blocked. If the soil smells bad, check roots for rot.
4. Too Much Direct Sun
Spider plants want bright indirect light. Harsh afternoon sun scorches the leaves, starting at the tips.
Signs: Brown tips with pale or bleached patches; the side facing the window is worst.
Fix: Move to bright indirect light — an east-facing window is ideal. A sheer curtain tames a harsh south/west window.
5. Fertilizer Burn
Over-fertilizing is significantly underdiagnosed. Excess salts accumulate in the soil, visible as a white crust on the surface, and burn the leaf tips.
Signs: White crusty buildup on soil or pot rim; browning appeared after fertilizing; you’ve been feeding monthly at full strength or feeding through winter.
Fix: Stop fertilizing for 6–8 weeks. Flush the pot: run room-temperature water through the soil for 2–3 minutes to leach out salts. Going forward, feed at half strength, only in spring/summer.
6. Compacted, Hydrophobic Soil
Old potting mix can become compacted and water-repellent — water runs down the sides without wetting the root ball, so the plant is simultaneously “watered” and thirsty.
Signs: Water runs straight through immediately; soil looks shrunken and hard; browning despite regular watering.
Fix: Bottom-water for 20–30 minutes to rehydrate, or repot into fresh, airy mix. If the plant is root-bound, size up 1–2 inches.
7. Natural Aging
Older, outer leaves naturally brown at the tips and die back as the plant directs energy to new growth and plantlets.
Signs: Only the oldest, outermost leaves affected; center growth is lush and green.
Fix: None needed — trim the spent leaves at the base.
8. Pests
Spider mites and thrips cause stippled, browning foliage. Less common, but check.
Signs: Fine webbing, tiny moving dots, or silvery stippling on leaves — not just tips.
Fix: Shower the plant, then treat with neem oil or insecticidal soap weekly for 3 weeks.
9. Root Rot (Advanced)
If the base of the plant is soft and mushy with brown tips on top, rot has reached the crown.
Signs: Mushy base, foul smell, leaves pulling out easily.
Fix: Unpot, trim all black/mushy roots and affected foliage, repot in fresh mix. If the crown is rotted through, propagate the healthy plantlets (“spider babies”) instead — spider plants propagate effortlessly. Clemson Extension’s beginner houseplant guide covers spider plant basics: Clemson Extension houseplant selections.
How to Trim Brown Tips Properly
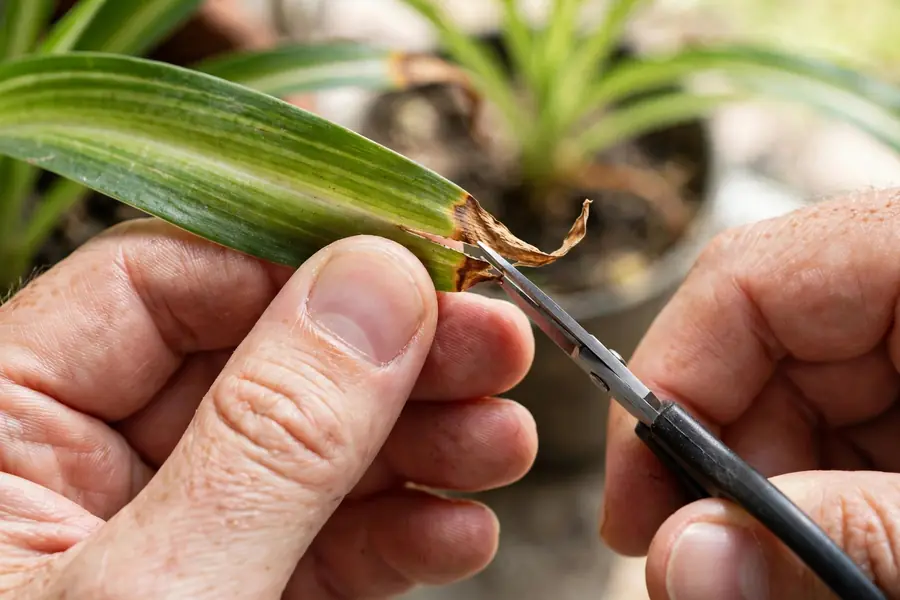
Brown tips won’t turn green again, but you can tidy them up:
- Wait until you’ve fixed the cause — trimming first just means new brown tips.
- Use sharp, clean scissors (wipe with rubbing alcohol).
- Cut at a slight angle, following the leaf’s natural pointed shape — a straight cut looks unnatural.
- Leave a thin brown margin (1–2mm) — don’t cut into green tissue or it’ll just brown again.
- For fully brown leaves, cut the whole leaf at the base.
Prevention Checklist
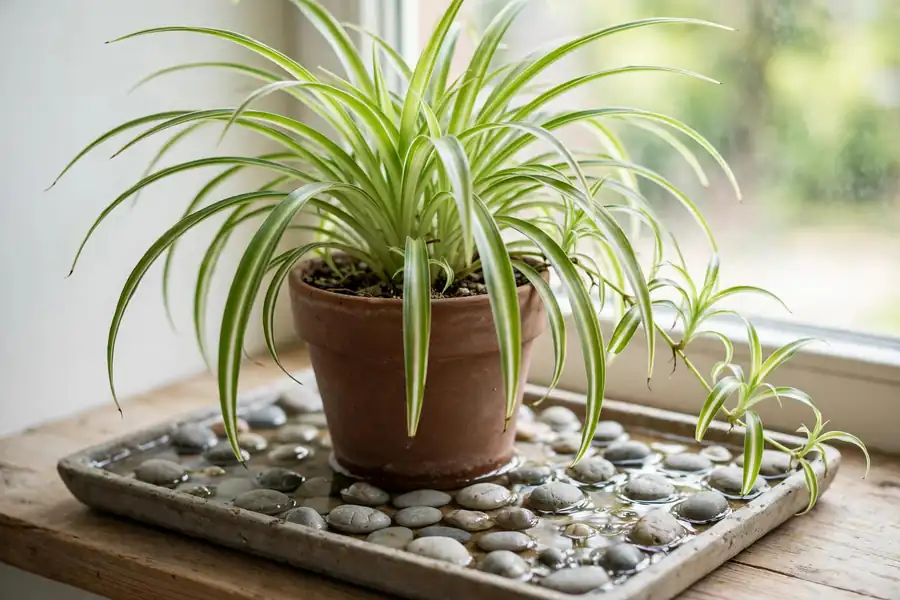
- Use filtered, distilled, or rainwater if your tap is fluoridated
- Water when the top inch is dry; never let it sit soggy
- Bright indirect light only
- Fertilize at half strength, spring/summer only
- Flush salts from the soil every 2–3 months
- Repot every 1–2 years into fresh mix
- Keep humidity above 35–40% in winter
Frequently Asked Questions
No. Trim them following the steps above and focus on new growth, which will emerge clean once the cause is fixed.
It depends on your water. Fluoridated municipal water is the issue — if brown tips persist despite perfect care, try distilled water for 6 weeks as a test. Well water and unfluoridated supplies are usually fine.
Misting gives a brief humidity boost but isn’t a real fix for chronic dry air. A pebble tray or humidifier works far better. Peace lilies with drooping issues respond to the same humidity tricks.
Fluoride browning is slow (months), with otherwise healthy-looking leaves. Underwatering browning comes with curling leaves and dry, shrunken soil. When in doubt, run the 6-week distilled water test.
Almost never. Brown tips are cosmetic and one of the most fixable houseplant problems. True emergencies (mushy base, spreading rot) are rare — see cause #9.